Because of the growth in the number of tattoos in the country, it is reasonable to assume that practically everyone has at least one tattoo on their body. Such a jump in tattoo appointments means that tattoos are no longer considered taboo subjects.
Traditionally, body art was connected with things that had a wrong meaning, such as biker gangs, the mafia, the underground lifestyle, and people who had a problematic past. However, things have changed, and we’ve recognized that tattoos are simply a fun way to display one’s individuality. There’s absolutely nothing wrong with it!
On the other hand, many individuals are unaware of how tattoos work and what the tattooing process looks like. Individuals rarely investigate such an important aspect of getting a tattoo; for example, many people are concerned about the pain, but few are concerned about the safety of the ink or the possibility of ink allergies.
Accordingly, we will lead you through the complete tattooing procedure, beginning with the tattoo appointment and ending with the aftercare regimen, in these paragraphs and the ones that follow. So, without further ado, let’s get this show on the road.
The Tattooing Process: How Tattoos Work (9 Steps)
Step 1 – Choose the Most Appropriate Tattoo Salon or Tattoo Artist
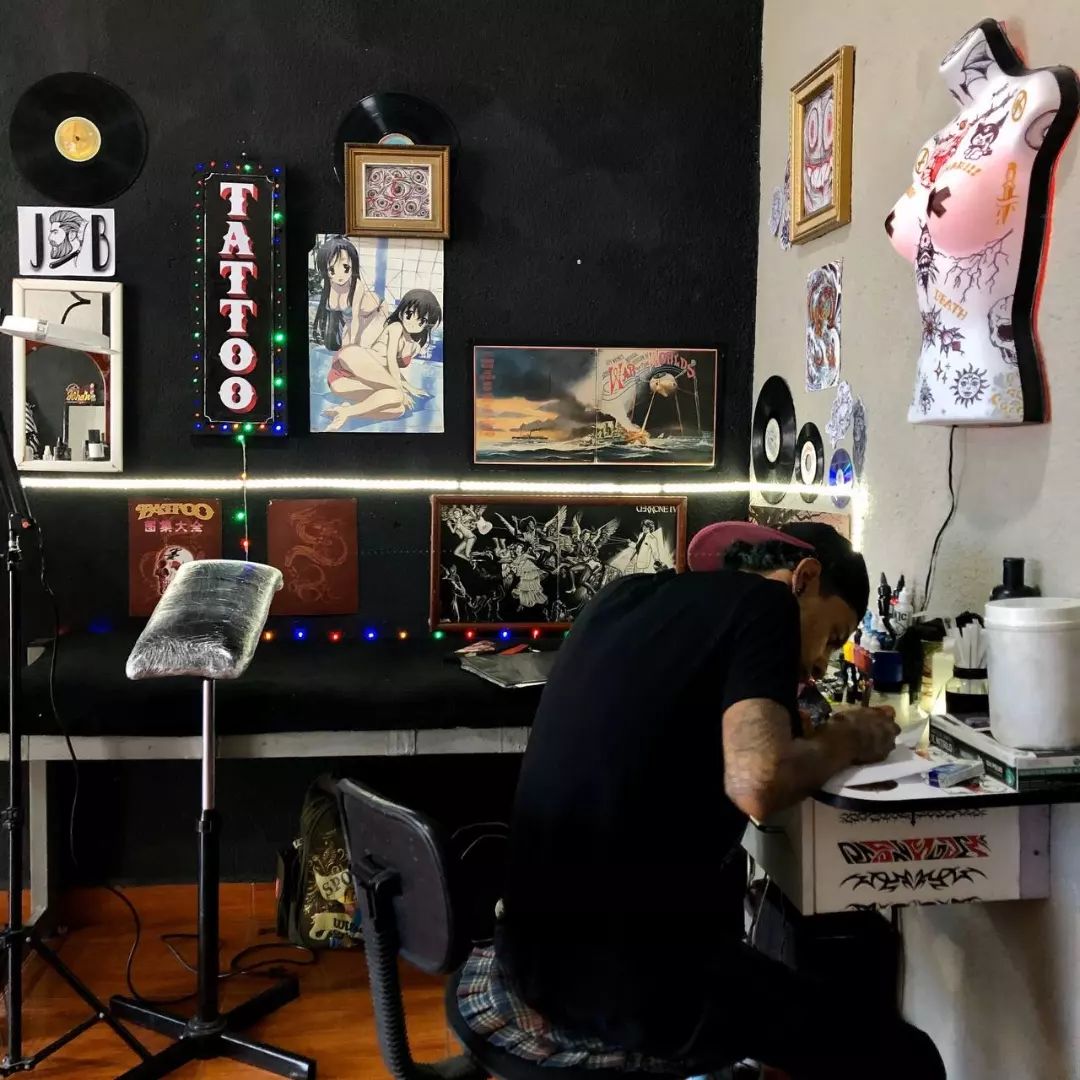
You must complete some preliminary research before scheduling a tattoo session. (Unless you’re searching for a walk-in tattoo, you may go to any tattoo studio and get inked.) Instead, you should seek out the finest of the best and get your tattoo done by an experienced expert. This will allow you to prevent many potential tattoo complications in the long run (more on that later). Learn how to select the finest tattoo studio and tattoo artist for your needs.
- Take a walk around your neighborhood and look at all of the tattoo studios; use Google maps to find the salons and get their specific addresses, as well as any links to their websites or online portfolios.This is a fantastic time to investigate internet reviews, as Google begins to work immediately.
- Examine the studio’s portfolio in detail; this will assist you in determining the kind of tattoos they provide and whether or not it is something you want to pursue.
- Please check with your inked friends to see if they know of or can recommend a specific tattoo studio or tattoo artist. Consultations are free. Inquire about their previous experiences and if the studio is safe and well-regarded.
- Once you’ve narrowed down your list of possible studios, contact each to set up a consultation appointment. Examine the safety and hygiene of the tattoo parlor and the tattoo artists who may be tattooing you in the future.
- Once you’ve decided on a particular tattoo shop, make an appointment to get your tattoo done there.
Step 2 – Choosing an Appropriate Tattoo Design
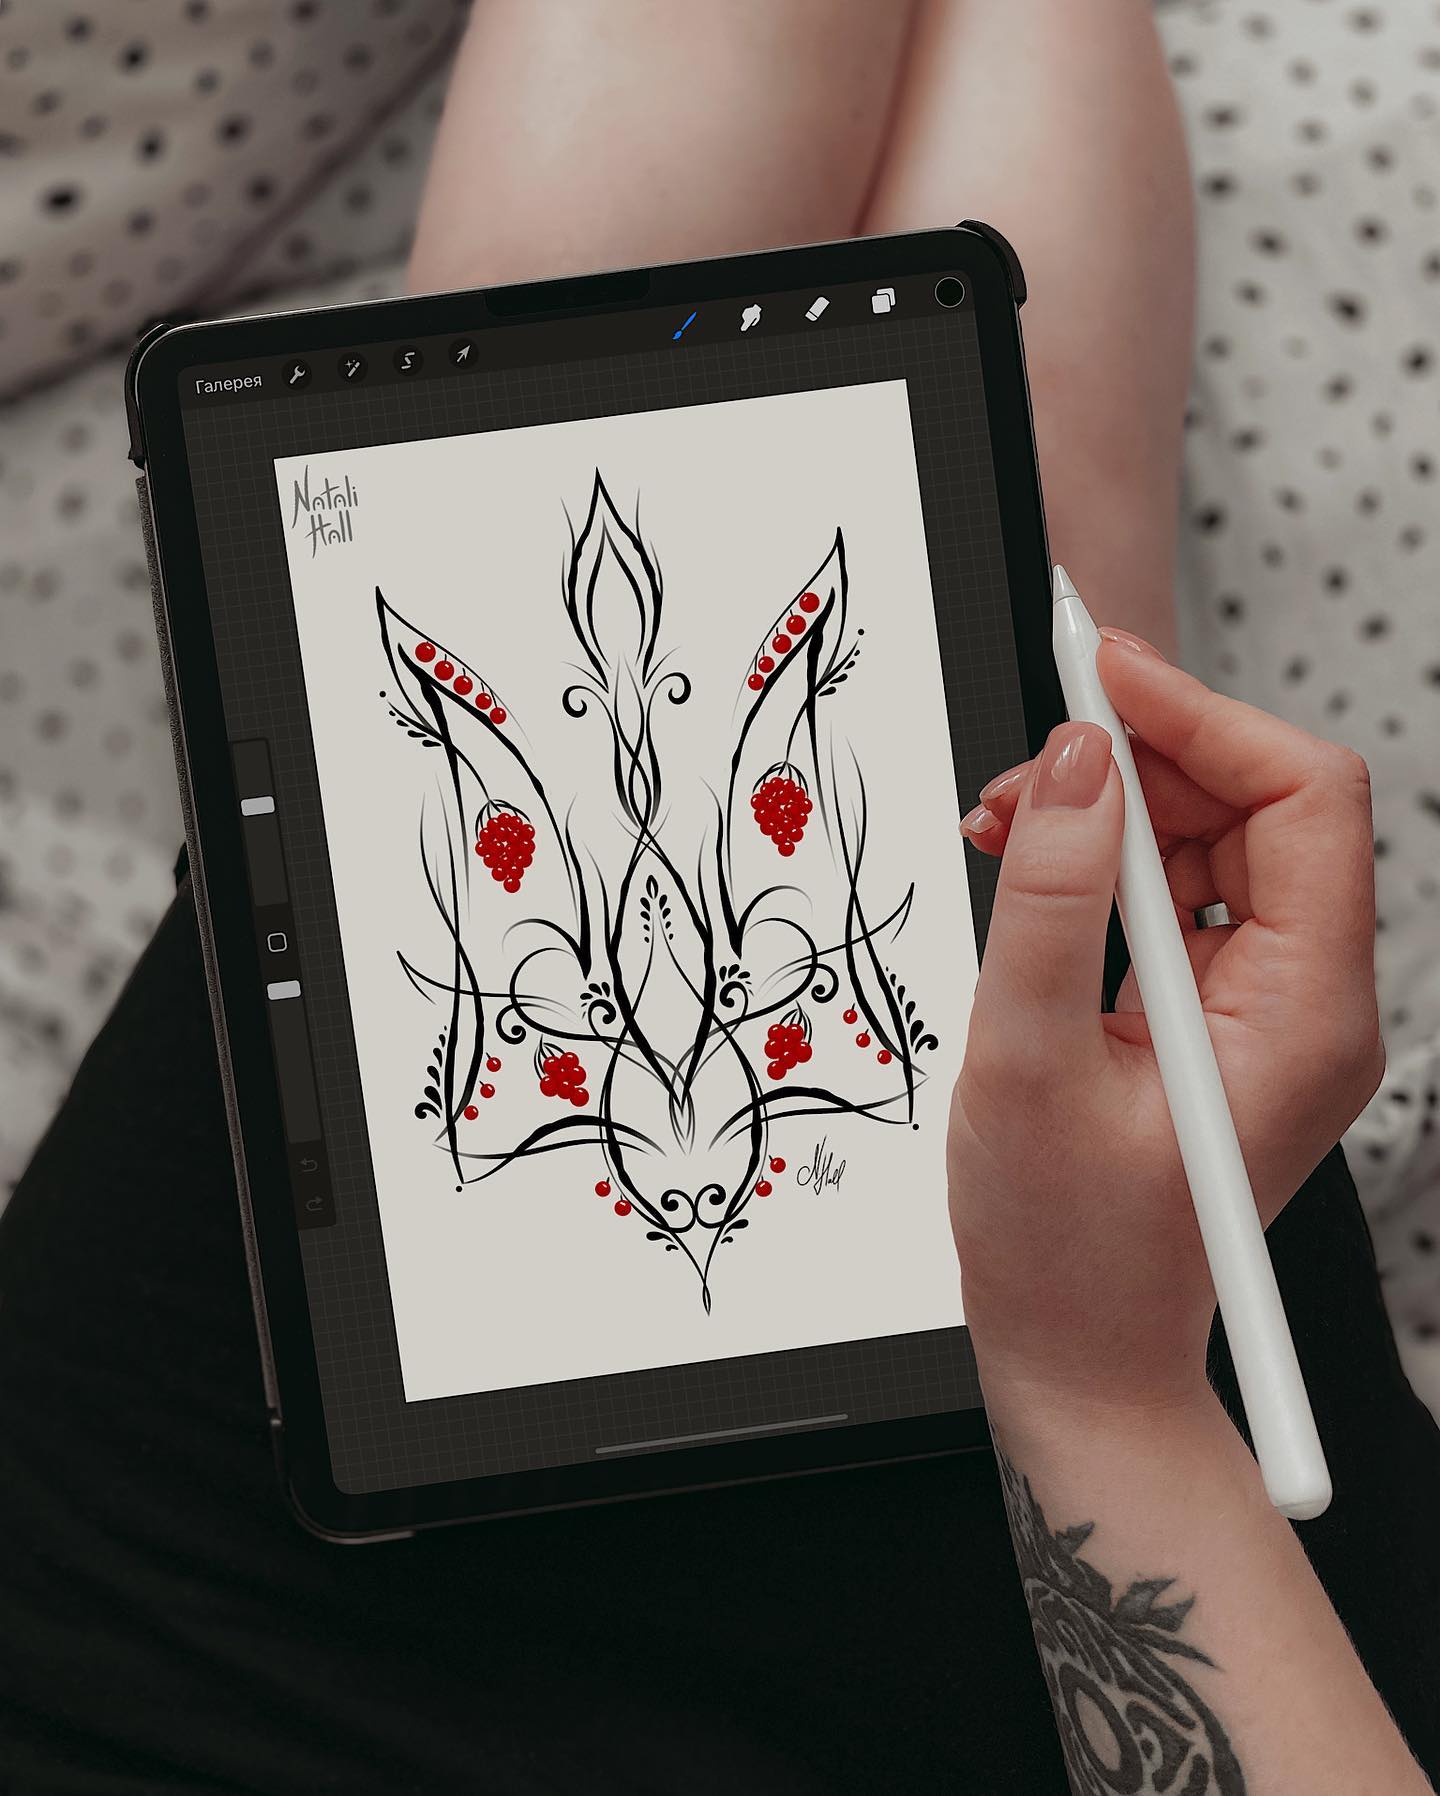
You might arrive at your tattoo session with a prepared image or concept of what you want to get tattooed on your body. However, you may discuss with your tattoo artist how to improve that concept or whether the artist can come up with a better, more unique design for you to consider.
In any case, you should consult with your tattoo artist regarding the design and style of the tattoo and its size, color, and perspective placement.
You can consult with the tattoo artist directly if you are unsure of what you want to be inked. If you are unsure of what you want to be tattooed, the tattoo artist will offer their insight, provide some ideas, and come up with something you might enjoy while discussing it with you.
Step 3 – Choosing the Location of the Tattoo
Selecting the appropriate tattoo design is critical, so determining where you want the design to be placed on your body is also essential. Finding the ideal location might be more complicated than you might expect at first glance.
Your tattoo artist will explain which tattoo placement will cause you the most discomfort, considering the tattoo size and the body parts that have been addressed. Unless you have a specific preference for a particular location, it is best to avoid high-pain regions (where there are a lot of bones and thin skin with numerous nerve endings). This is particularly important if this is your first time getting a tattoo.
The tattoo artist will also discuss the regions on your body where tattoos fade the most quickly (areas that experience friction and are exposed to the sun or water, such as the hands and feet).
With the help of your tattoo artist, you will choose the best place for your tattoo based on all of the information you have.
Step 4 – Final Thoughts Paperwork and Payment
Following the conclusion of the tattoo conversation, you will be required to fill out some documentation about your identification, age, phone number, and address, among other things. This is necessary so that the tattoo artist knows you are not under the age of majority or getting a tattoo without the supervision of an adult (this depends from state to state).
After that, you’ll be required to make restitution. In most cases, after you’ve discussed the tattoo design, size, color, and placement with the tattooist, they will present you with an estimate for the total cost of the entire process. It is customary to pay the tattoo artist before the tattooing begins.
You’ll have to check with the studio to determine if your chosen mode of payment is accepted. Remember that you’ll also need to tip the tattoo artist once the tattoo is completed. Once you’ve paid, make sure to acquire a receipt.
Step 5 – Preparation for the tattoo
Getting tattooed is the most thrilling phase of the procedure; it is also the longest. There’s no turning back when you sit down in that tattoo chair. At this moment, your tattoo artist will do the following procedure:
- Even before you sit in the tattoo chair, the whole tattooing environment, including the chair and the implements, will have been thoroughly cleaned and sterilized. If you have any doubts about whether or not everything has been properly disinfected and sanitized, inquire and double-check with your tattoo artist.
- Based on the design and placement of your tattoo, you may be placed in a dentist-type chair, a table chair, or a bench. Inform your tattooist if the chair in which you are sitting is not comfortable for you.
- Preparing the region on your body where the tattoo will be applied includes washing the area, using rubbing alcohol, and, in some situations, even shaving. We urge customers to arrive for their tattoo session clean and shaven.
- After that, your tattooist will make a stencil of the tattoo design you’ve chosen. The stencil will be applied to your body to generate an image transfer effect. Your tattooist may use deodorant or soap to wet the skin before applying the stencil to ensure that it adheres to the skin. If everything goes smoothly, the stencil paper will be removed, and you’ll be left with a faint trace of your tattoo design.
- At this stage, the tattoo artist will prepare the appropriate equipment and consult with you to determine whether or not it is safe to proceed with the tattoo. In the case of needles, gloves, and other similar items, the equipment should be disinfected entirely and brand new.
- Request nitrile gloves if you are allergic to latex, and your tattooist will use them instead.
Step 6 – Getting Tattooed
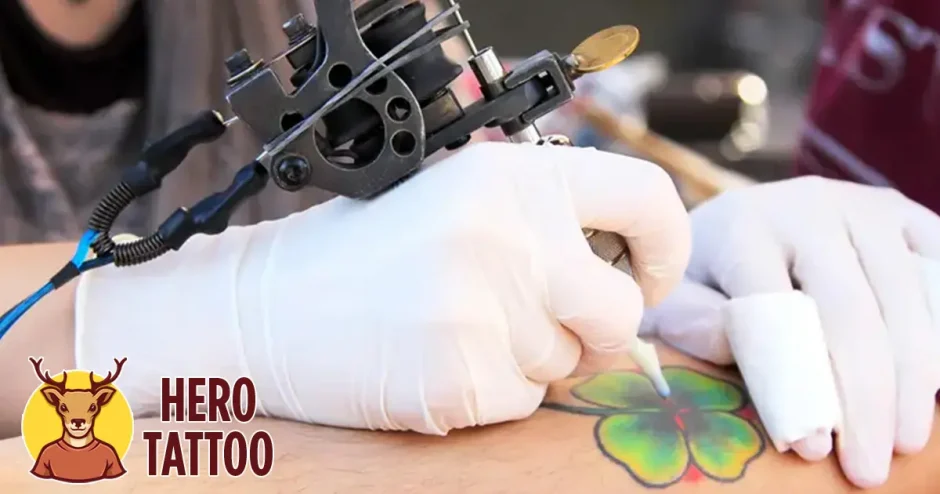
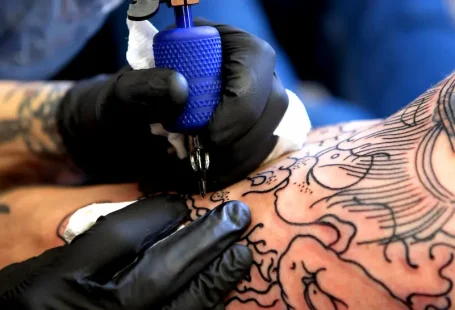
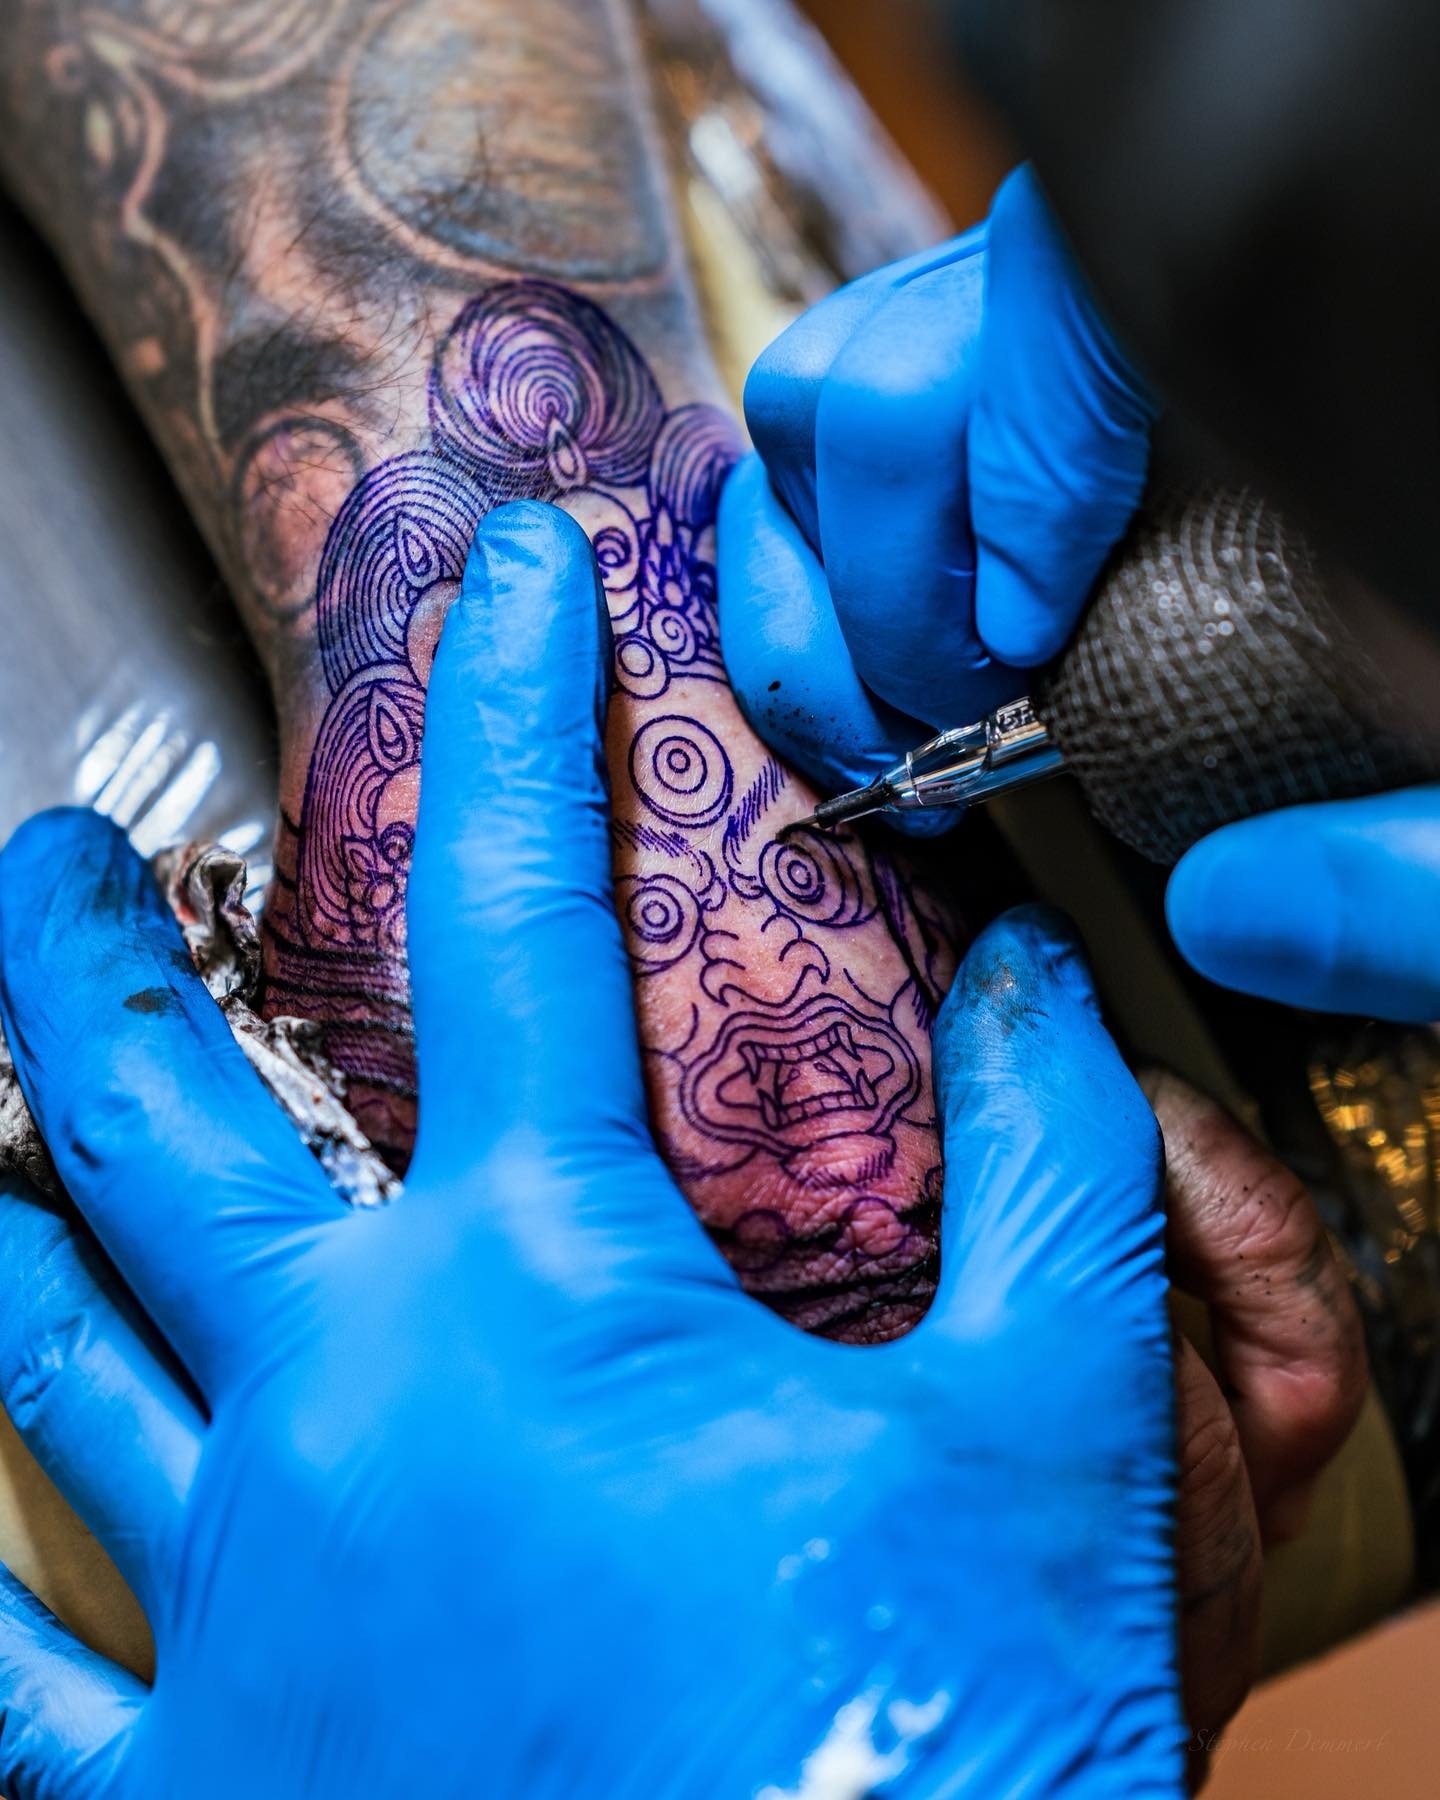
At this stage, your tattooist will begin tattooing the initial line of the design. Given that you’re still getting acclimated to this new feeling, it’s fair to assume that the first few seconds are the most difficult. When you do this for a short time, you will get used to it (and the slight discomfort or pain).
Your tattoo artist will begin by completing all of the linework for the tattoo on your body. Once this is completed, it is time to complete the shading of the tattoo and the coloring if you choose to go that route. The tattooist will switch between different needles or even machines at this point to make sure that the shading and coloring are done as quickly and as well as possible.
The tattooing procedure can be completed in one sitting, from one hour to several sessions. This, of course, depends on the size of the tattoo and the complexity of the design itself. Additionally, the location of your tattoo might influence the number of sessions you will require.
Step 7 – The Finishing Touch
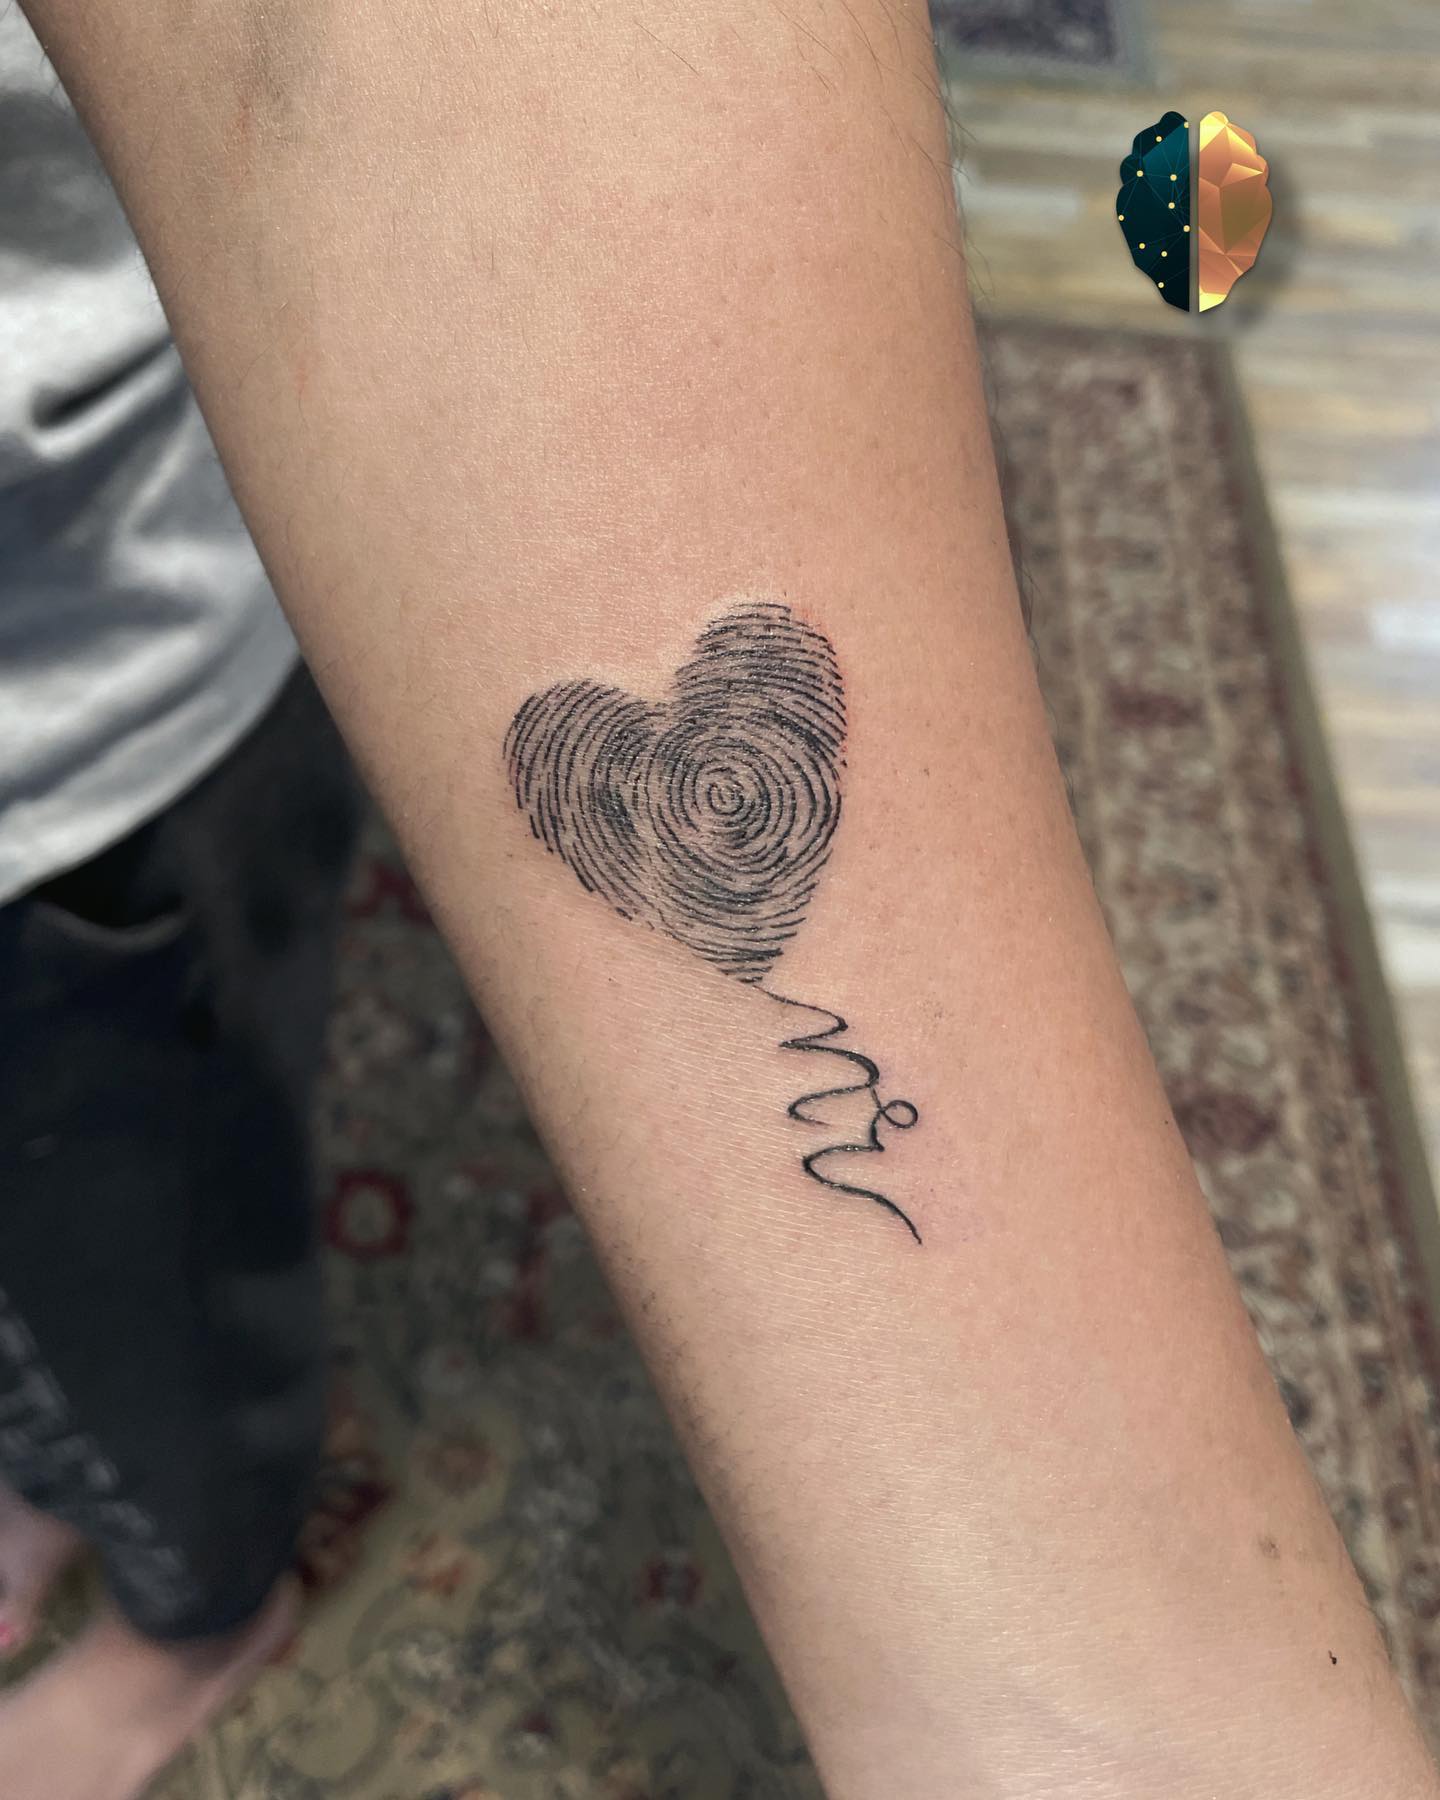
Once the tattoo is completed, your tattoo artist will clean up the tattoo and apply a hot cloth to the tattooed area to help it relax. After that, they will apply a protective ointment to the tattoo and photograph it for their portfolio. However, if you do not want them to take a photo, you may tell them that you do not want them to.
A bandage and wrapping tape will be used to wrap your tattoo when the tattooist completes the picture session. Remember that a fresh tattoo is handled like a wound, which means that you will hear a lot about aftercare from your tattoo professional.
https://www.instagram.com/reel/CcDWLS0JMS-/
Step 8 – The Aftercare Instructions
Immediately following each tattoo session, the tattooist will provide you with detailed aftercare instructions. They will provide you with instructions on cleaning the tattoo, moisturizing it, and which products to use on it. They may also warn you about unpleasant side effects and tattoo infections and what to do if something goes wrong. It’s usually a good idea for a tattooist to talk about the health risks that come with getting a tattoo, such as ink allergies, rash, skin swelling, and more.
Step 9 – Taking Care of Your Tattoo (After It Has Healed)
It is important to note that although this phase is not a part of the natural tattooing process, it is an essential aspect of having a tattoo. It is still necessary to take care of your ink even after it has healed to prevent premature fading and wrinkles. Tattoos need the use of sunscreen, which is especially important during the hot summer months.
Another important thing to do after you get a tattoo is to moisturize it. This will help your tattoo stay bright and beautiful for a long time to come.
If you see that your tattoo is starting to fade, call your tattoo artist to schedule a touch-up. If you go back to the same tattooist who did your first one, you might be able to get a good deal on the touch-up.
And that’s the end of it!
Hopefully, our step-by-step walkthrough of the tattooing process was valuable and enlightening. Check out our other articles on tattooing for more information, and, of course, chat with your tattoo artist if you have any questions. Even though the procedure appears to be lengthy, it proceeds very fast, so you don’t have to be concerned about losing track of time.
Indeed, most of the time is spent on aftercare since tattoos can take anything from a few weeks to several months to heal completely. Infection is present if you experience any of the following symptoms throughout the aftercare process: Redness, swelling, rashing, or seeping from around the tattoo: In that event, seek medical attention and get in touch with your tattoo artist for more instructions.
It is better to give than to receive!
